
| Home | My Mini Swaps My Mini Swaps 2 Green Sock On Left Foot On Tuesday Club Related Links My Minis Rocking Horse Workshop My Minis (bought) My dolls House Dolls BMW weekend 2002 My Bears My Houses My Houses 2 Hazel Dowd's workshop - making a doll | |
| Miniature Illusions!!! | ||
| Rocking Horse Workshop | ||
|
This Rocking Horse was made at a Burleigh Miniatures Workshop. I have attempted to show you how the horse started out, and how it was lovingly shaped into the dapple horse that you see at the end. |
||
|
ROCKING HORSE WORKSHOP Well, this is what we started with! Several pieces of wood, of different shapes! There were 4 leg shapes, 1 head shape, 2 rocker shapes, and a body. Plus some extras to pad out the horse shape. 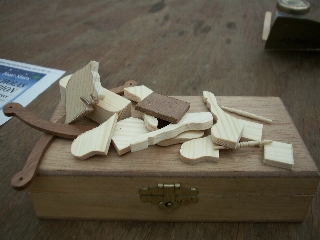 We stuck the various shapes together, and actually came up with a horse shape - a bit angular, but never the less a horse! While it dried, I put together the rocker. This was rubbed down and varnished twice. 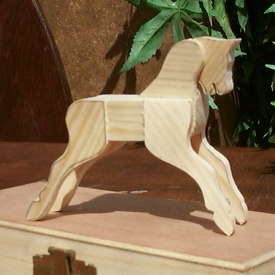 Here was decision time! Should I have a go at whittling the nice smooth shape of a rocking horse? Or should I just ask Steve of Burleigh Miniatures to use his sanding machine to make a nice rocking horse shape? Well the decision was hard! Here you are Steve! 90% of the group did this, although there were a couple who carved their own horses. When Steve had finished, I sanded the horse into a nice smooth shape, with no ridges. I had decided to do a dapple rocking horse, so finish was not as important as the ones who had decided to do a wooden varnished finish. 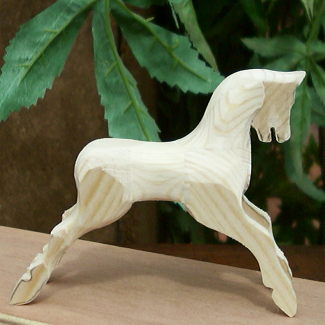 The horse was painted white, then rubbed down, and then spray painted with white gloss paint. 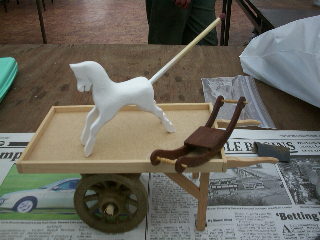 I dappled the horse with a stencil brush, and hopefully this has given it a nice finish. 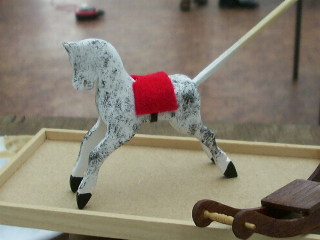 The reins and saddle came next, under the helpful instructions of Burleigh Miniatures. 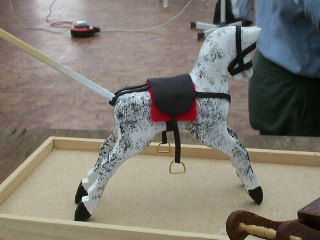 The horse was then ready for the mane and tail. I made a little hash of the mane, and had to be helped! Told you sewing was not really my scene! We had to sew the mane to a piece of "greaseproof" paper, then tear the paper away, and stick it to the horse! With the tail in place, I could attach the horse to the rocker (after the feet had been carved away a little to fit the base). The mane and tail were "elastic banded" to help them fall in the right direction. 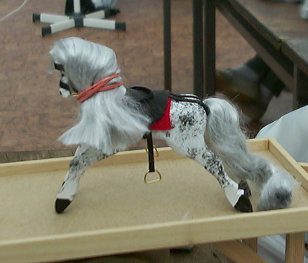 Well here is the completed item! I would recommend this workshop to anyone. Apologies for the photo! 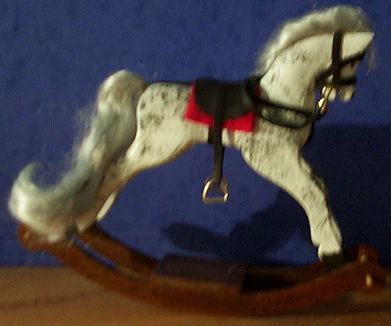 I will admit, if the workshop had been 2 days, I would have attempted carving myself, and rubbed down and varnished the rocker more, but time was against us. |
||
|
|
||